
“The Bunker”
(Developed Spring 2020)
Role: Level Designer
Engine: Bethesda Creation Kit
Development Time: 93 hours
Downloads:
• Download “The Bunker” (contains play instructions)
• Download Design Document
Music is “Delight” by Dee Yan-Key
“The Bunker” was developed as a Fallout 4 project focused on designing combat for its environment. The entire quest takes place in an underground invitation-only hotel built before the war. In “The Bunker”, the player assists a Mr. Concierge robot in dealing with freeloading raiders who stole the Manager’s Keycard.
Floor B2 - Main combat area
Broadly speaking, I wanted my content to expand on its surroundings without feeling tacked-on or forced. To achieve this, I took inspiration from Fallout’s theme of re-settling the post-war ruins as seen in Diamond City (a baseball field turned into a city) and Goodneighbor (now a safe haven for outcasts), and created a hotel taken over by raiders. From there, my goal was to design combat that took advantage of the environment in terms of cover, sightlines, and funnels. This mainly manifested in floors implicitly split into sections with plenty of corners and furniture for the player (and enemies) to use as cover.
Pre-redesign paper map example
Originally, there was also another goal of providing a sense of exploration. This was going to be accomplished with the spacious floors and rooms of the hotel, which the raiders had turned into homes and makeshift farms.
Nearing the end of the allotted whitebox phase, it was determined that it was too large to keep the player moving at a good pace through the quest, and thus I was instructed to downsize all of it.
In the end, this secondary goal was set aside in favor of having a properly-built level. I still worked in some elements of discovery through ensuring the player doesn’t take the same route through any two floors, so don’t know exactly what to expect.
The Bunker Hotel (in-editor)
click images to expand them


Throughout early development, I had issues with enemies not spawning exactly where they were supposed to. Even the provided utility to move them to their editor locations wasn’t working exactly as intended, and after the redesign I realized that enemies spawn within a random radius. My initial implementation had enemies spawn as players reached a designated trigger, so they would feel more like true ambushes, and this explained why that was problematic in a smaller space.
At this point, it was too late to make large layout changes that would better hide enemy spawns, so I began testing numerous work-arounds. In the end, I landed on having all enemies start spawned, but with their AI deactivated. I then move them to their editor locations (the AI seemed to interact with this function somehow), and wait to reactive their AI until the player reaches the previously mentioned triggers. While not a perfect solution (they still rarely trigger one-liners, even without AI), it supports the ambush feeling of each encounter.
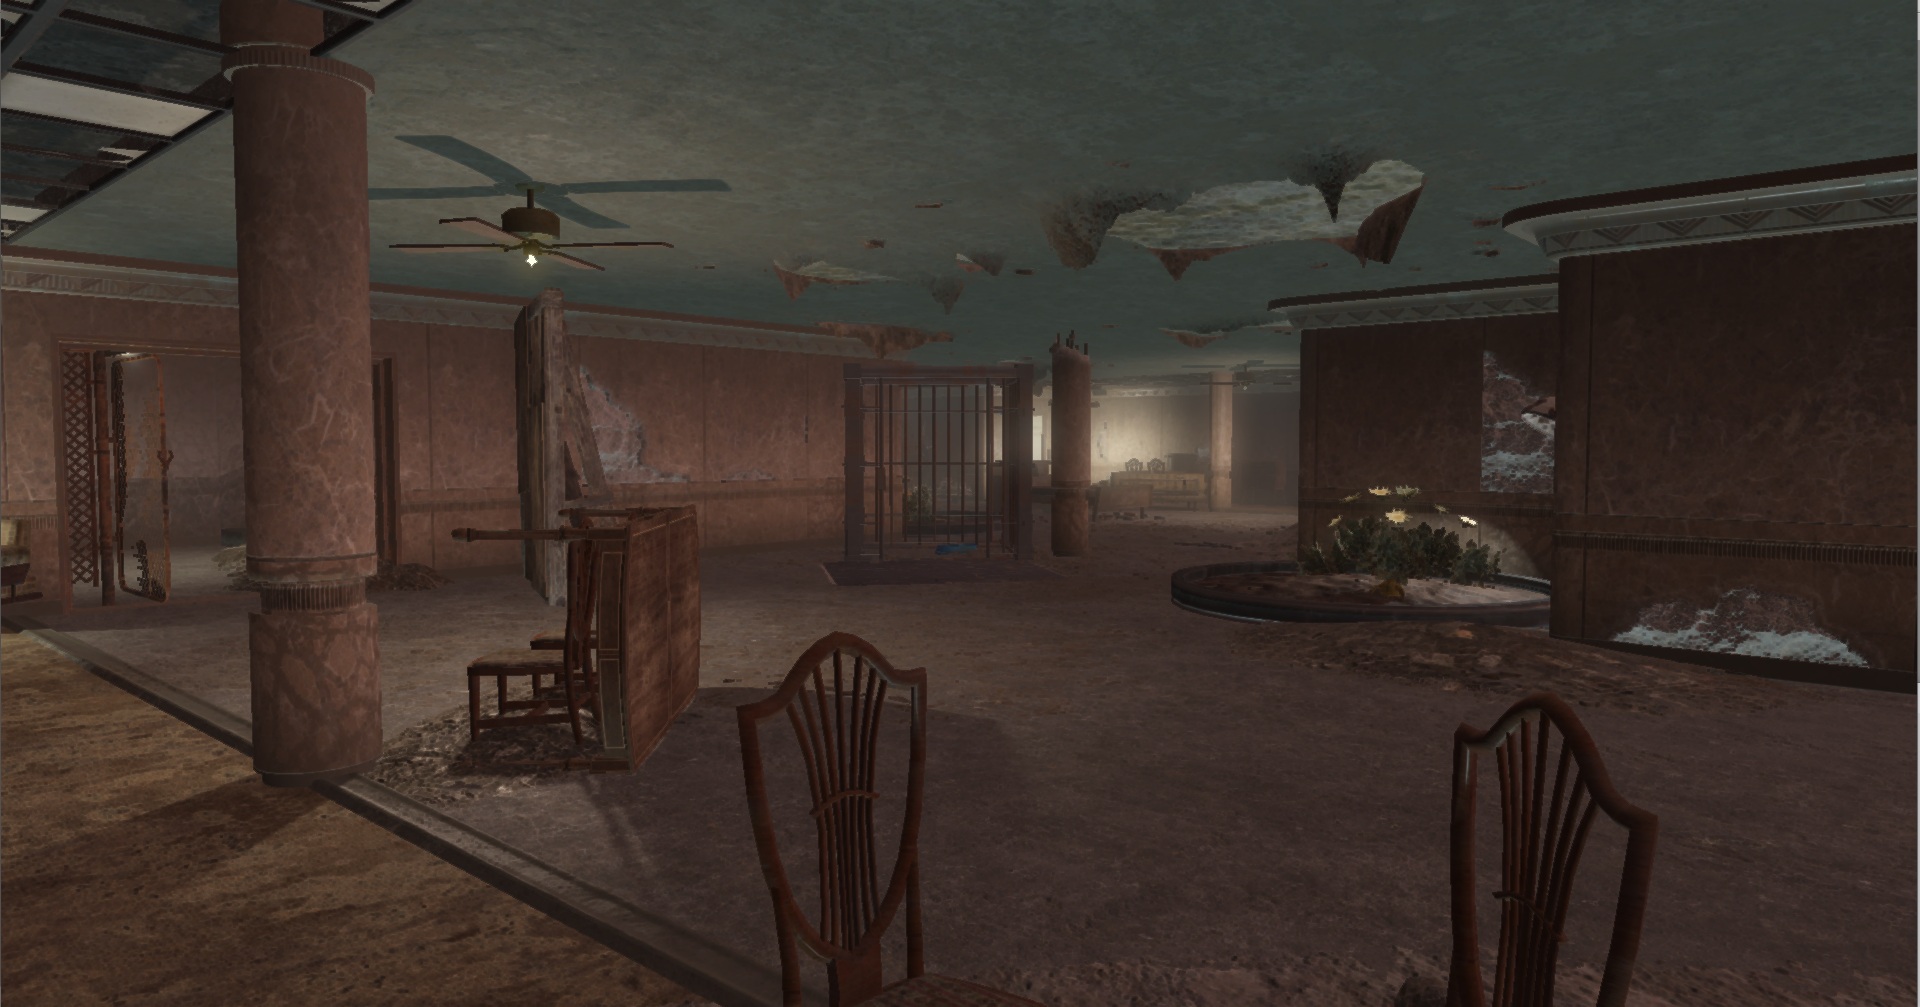
Initial Development and Lobby
For the redesign, I focused on trimming the whole level down to only what it needed in order to prevent the possibility of needing to downsize again in the future. To do this without reducing the level into a glorified corridor, I made the player and enemies zig-zag between each floor’s main area and the rooms on that floor. The only exception to this is the lobby, as there are no enemies here and I wanted the start of the quest to be as straightforward as possible. However, I let the player enter the security office on the lobby floor, which has a workbench to build or upgrade weapons.
Lobby - Map
click to expand
Lobby - Items
click to expand
Floor B1 - First combat
As the first instance of combat in the area, it’s designed to ramp the player into the experience. To that end, the player first encounters two radroaches and plenty of room to fight them. The player has to advance down the hallway for the raider enemy to even activate, so until then they’re safe. As with most enemies in The Bunker, the raider is set to immediately engage the player in combat as soon as the player hits the trigger volume; this lets me set the pace of combat as the designer, where I know with certainty that some number of enemies will run after the player at “Point X” in the hall, and at “Point Y” in the room.
Floor B1 - Map
click to expand
Floor B1 - Enemies
click to expand
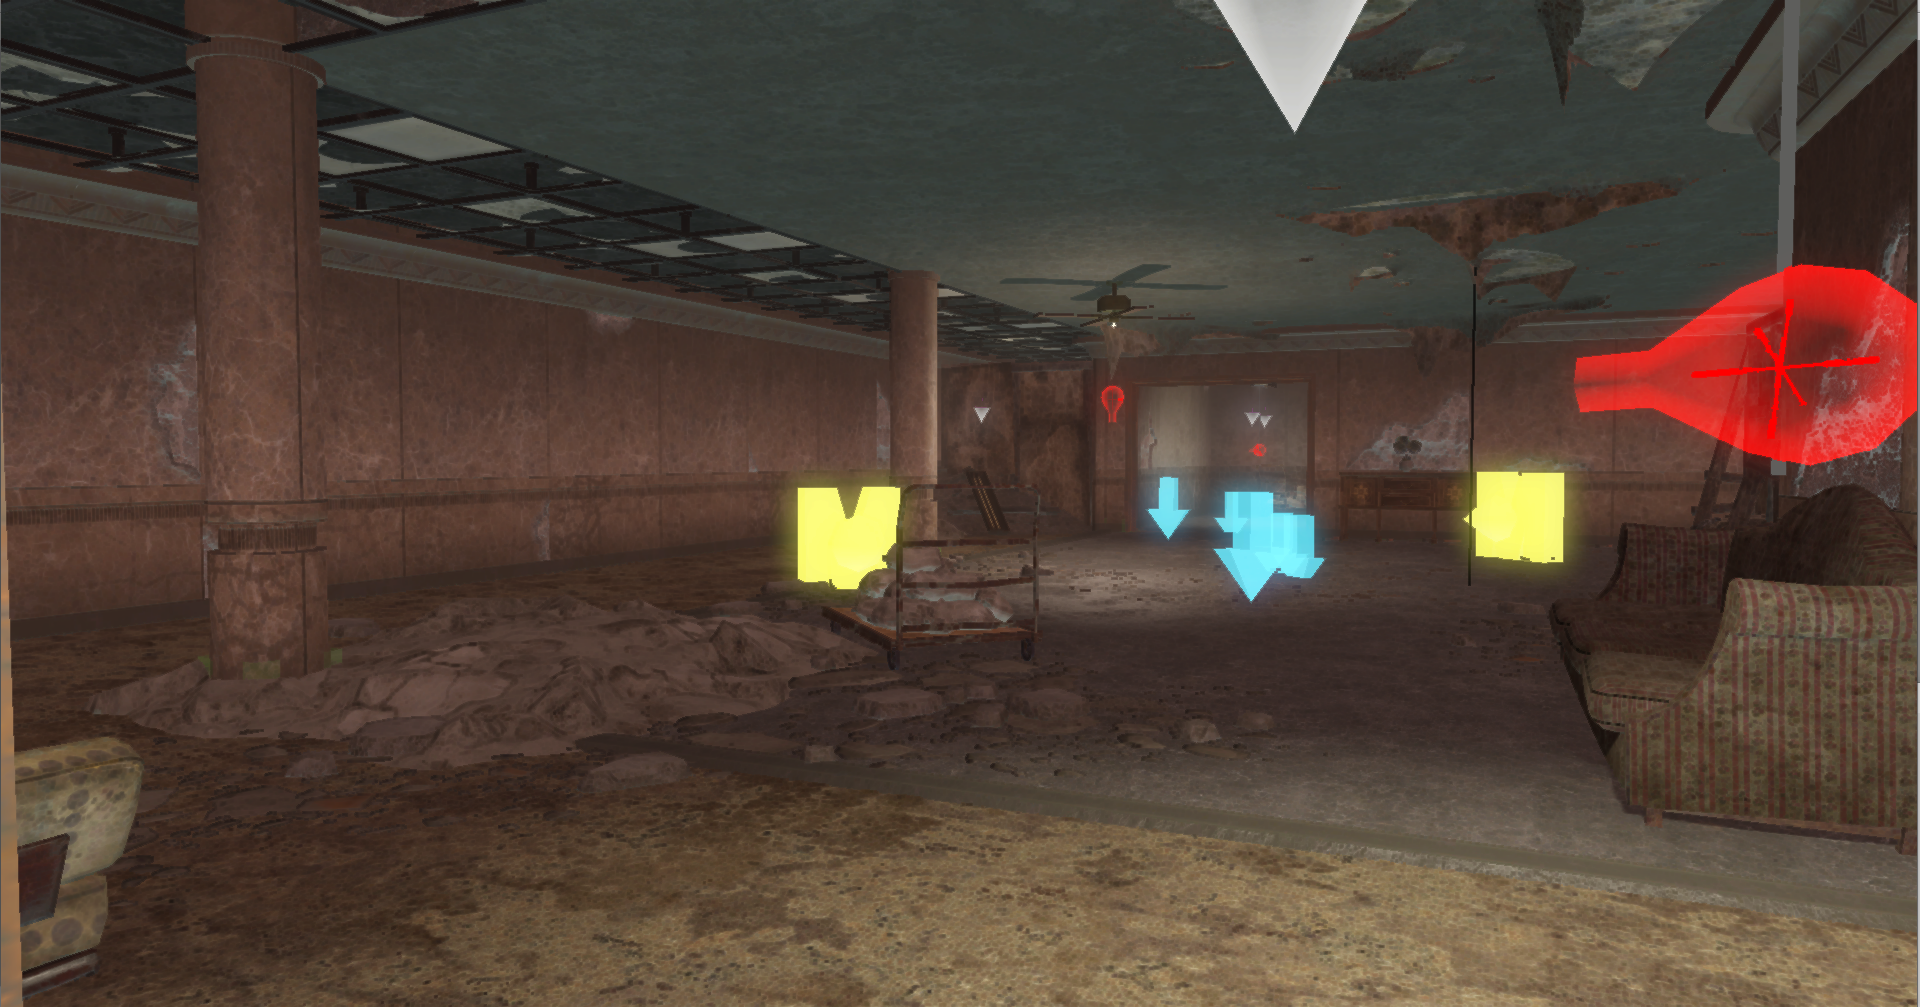
Floor B2 - Blind corner
The second floor of combat utilizes the floor’s layout to hide most enemies until the player has already rounded the corner, and thus has to find somewhere to take cover.
Floor B2 - Map
click to expand
As soon as they reach the designated corner, three raiders (two melee and one ranged) engage the player in combat. The melee enemies rush the player to keep them on the back foot, while the ranged raider shoots them from around the corner.
Additionally, at this point the player is given access to enough raw materials to use the supplied Chemistry Station and make a baseball grenade. This keeps the player powered up to an extent, while also giving them a hint that they may soon encounter a cluster of enemies.
Floor B2 - Enemies
click to expand
Floor B3 - Items
click to expand
Floor B3 - Crowded
As they enter the third floor, the player is attacked by a dog to keep them on their toes. They then have to commit to entering the room proper before any more enemies trigger, so it’s important for them to keep possible cover spots in mind.
Floor B3 - Map
click to expand
For example, if they go straight ahead and around the corner, two dogs and a ranged raider are triggered; at this point, it’s smart to use the hallway or bedroom as a sort of funnel to handle three enemies at once. As they continue on, the rest of the enemies activate and act as a second wave.
If they go across the room instead and head directly for the exit, every enemy activates at once, all of them becoming aggressive except for the three previously mentioned enemies. Instead, they wait for the player to make sufficient noise in combat with the rest of the floor, giving the player a bit of breathing room.
Floor B3 - Enemies
click to expand
Floor B3 - Items
click to expand
Floor B4 - Raider Ghouls
On the bottom floor, all of the raiders are ghouls, and are more aggressive than their counterparts from the floors above. As soon as the player enters the floor, multiple enemies activate, though only the melee enemy across the room becomes instantly aggressive. This one-on-one fight is much less threatening than the fights triggered on the floor above, daring the player to approach the enemy and move further in. If they don’t, soon a handful of other enemies aggro and swarm the player. Either way, they’re soon surrounded and have to use the environment to their advantage.
As the player fights this initial wave, the boss activates and engages the player in combat. If the AI brings the boss over to the player’s side of the room, then the rest of the enemies by the elevator act like another ambush right after the player feels safe. If the AI keeps the boss further away, the other enemies instead act like bodyguards, keeping the final fight difficult. Both of these results make the enemies feel much more like actual people who plan their actions, rather than lines of code.
Floor B4 - Map
click to expand
Floor B4 - Enemies
click to expand
What Went Well
Successfully redesigned both the quest and map to improve pacing, cutting down to the most essential components of each.
Combat takes advantage of each floor’s layout using code and trigger volumes to control timing and location.
Developed simple, readable iconography for paper maps that helped facilitate level updates.
What Went Wrong
A large portion of development time was spent on bug-fixing rather than anything else. In spite of this, there are still some bugs I never managed to track the source of.
The quest got scoped down to a very short series of fights without a real sense of exploration.
The environments are bland in terms of color, making parts of the level blur together. More time spent on lighting and set dressing would address this.
What I Learned (Improvements)
Create whitebox prototypes alongside paper maps to get a better feel for the spaces and have the ability to make early adjustments.
When possible, always test enemy spawning in different situations to learn what it does in the back end (in this case, it would’ve let me know I needed to accommodate for the spawning radius so the player doesn’t see them early).